The 2026 Imperative: Why HP Gen 12 Servers are the Cornerstone of Your IT Refresh

Author: everythingcryptoitclouds.com

Introduction: The New Era of Compute

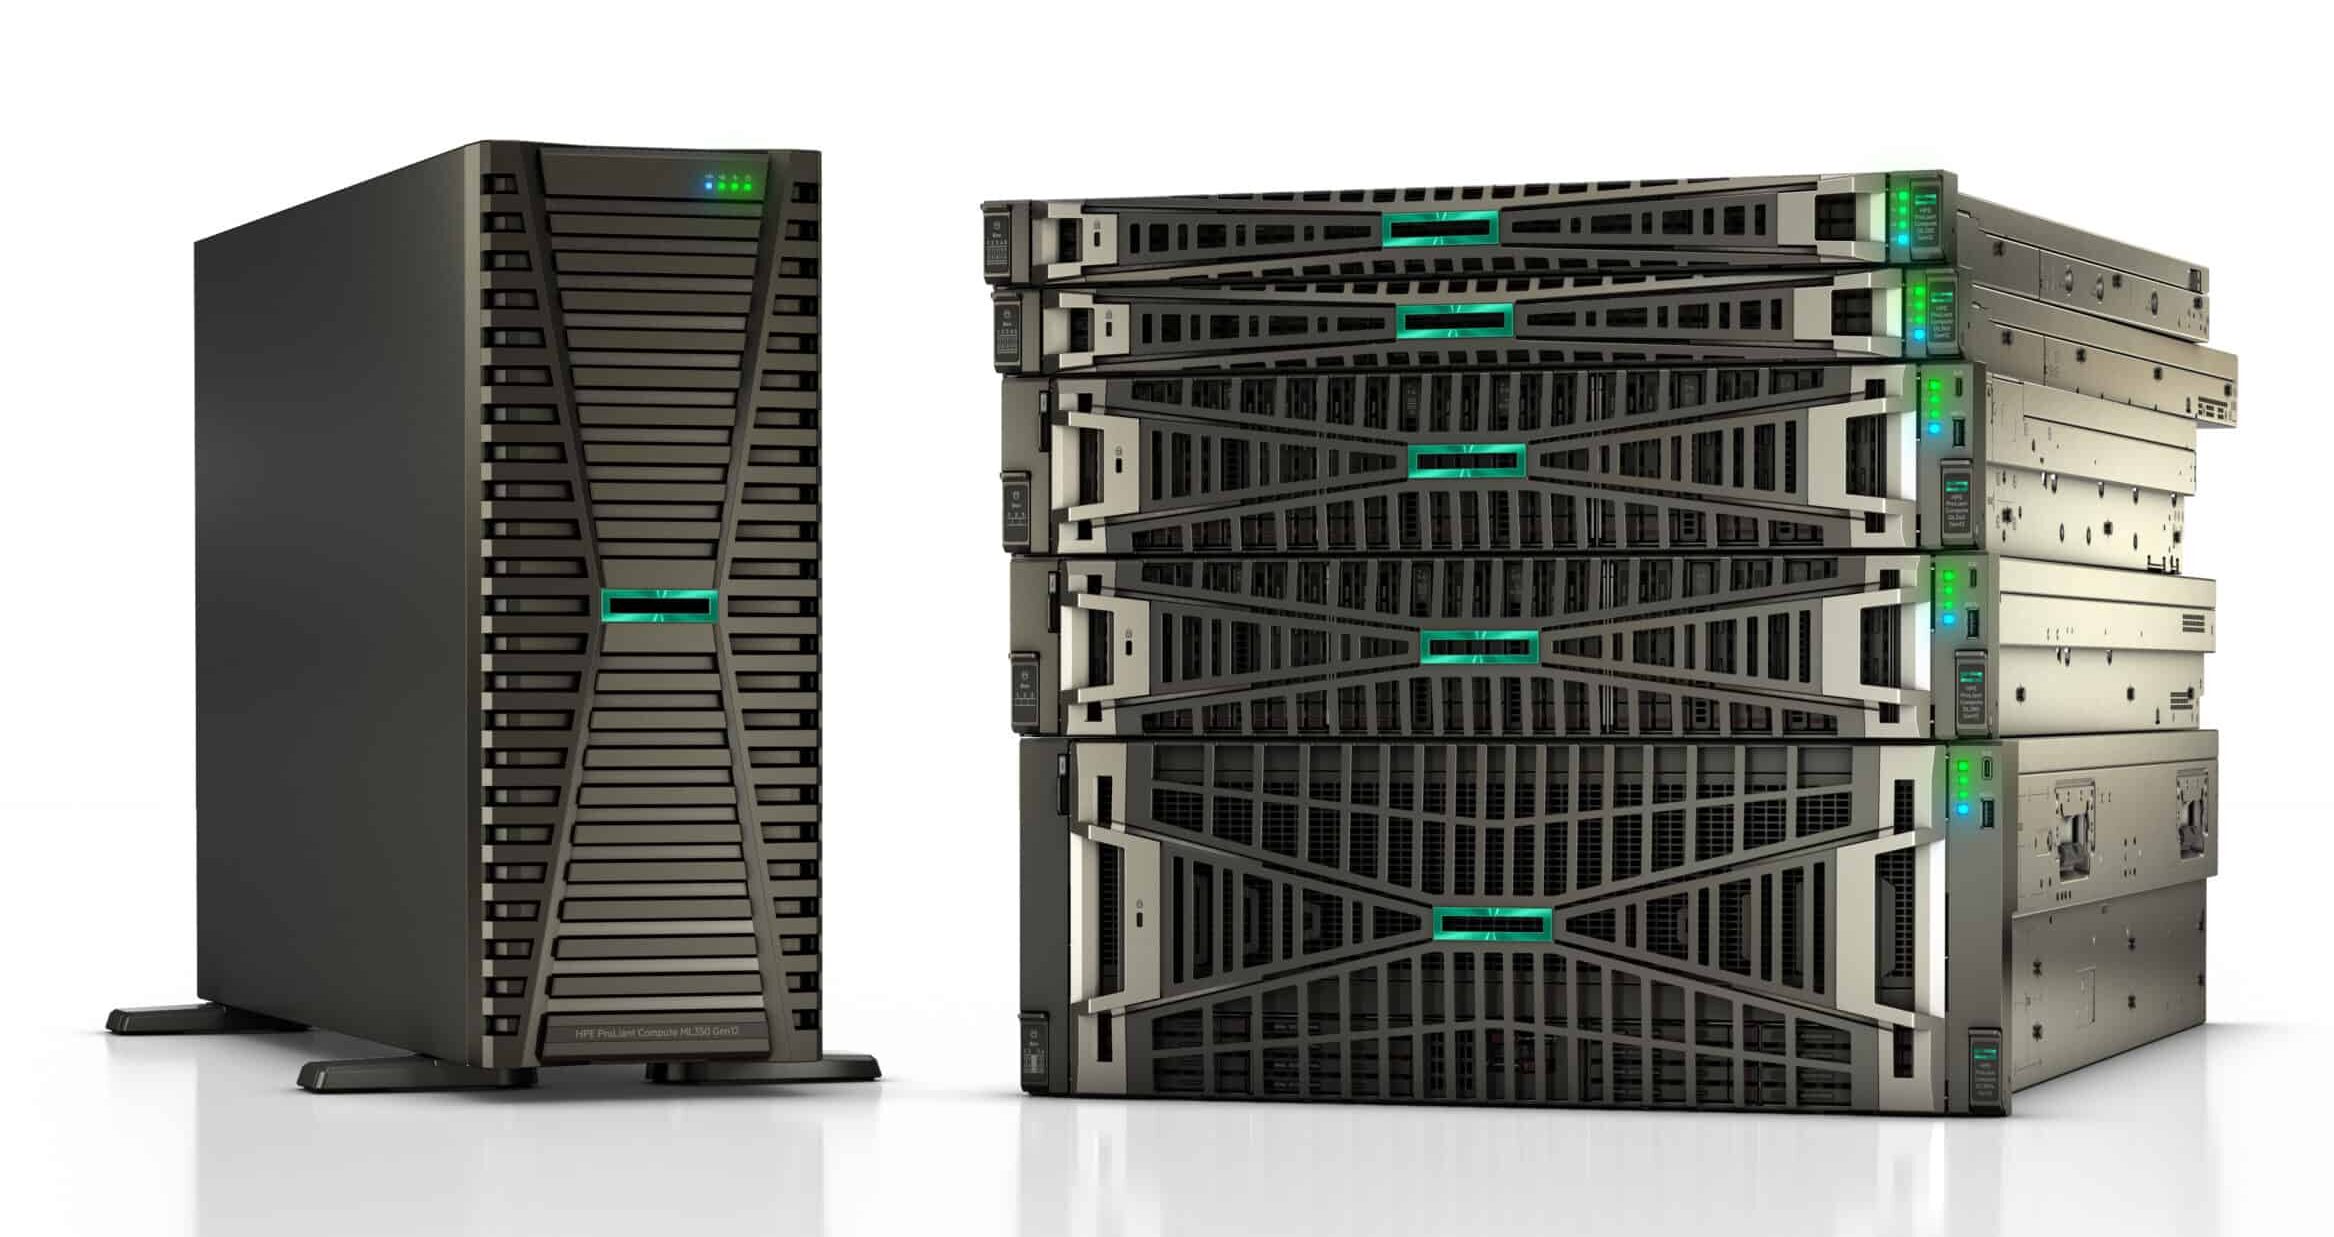
The year 2026 marks a critical inflection point for enterprise IT infrastructure. With the relentless growth of data, the operationalization of Artificial Intelligence (AI), and the ever-present threat of cyberattacks, legacy server hardware is no longer a viable foundation for modern business. The need for a strategic server refresh has never been more urgent. At the forefront of this technological shift is the Hewlett Packard Enterprise (HPE) ProLiant Compute Gen12 server family, engineered specifically to meet the demands of this new era [1]. This post explores the transformative capabilities of the HP Gen 12 platform and outlines the compelling advantages of making 2026 the year for your comprehensive server refresh.

HPE ProLiant Gen12 Servers

HPE ProLiant Gen 12: Engineered for the AI-Driven Enterprise

Announced in early 2025, the HPE ProLiant Gen12 servers represent a significant leap in compute power, efficiency, and security [2]. These systems are designed not just to run applications, but to serve as the backbone for next-generation AI and data-intensive workloads.

Unprecedented Performance

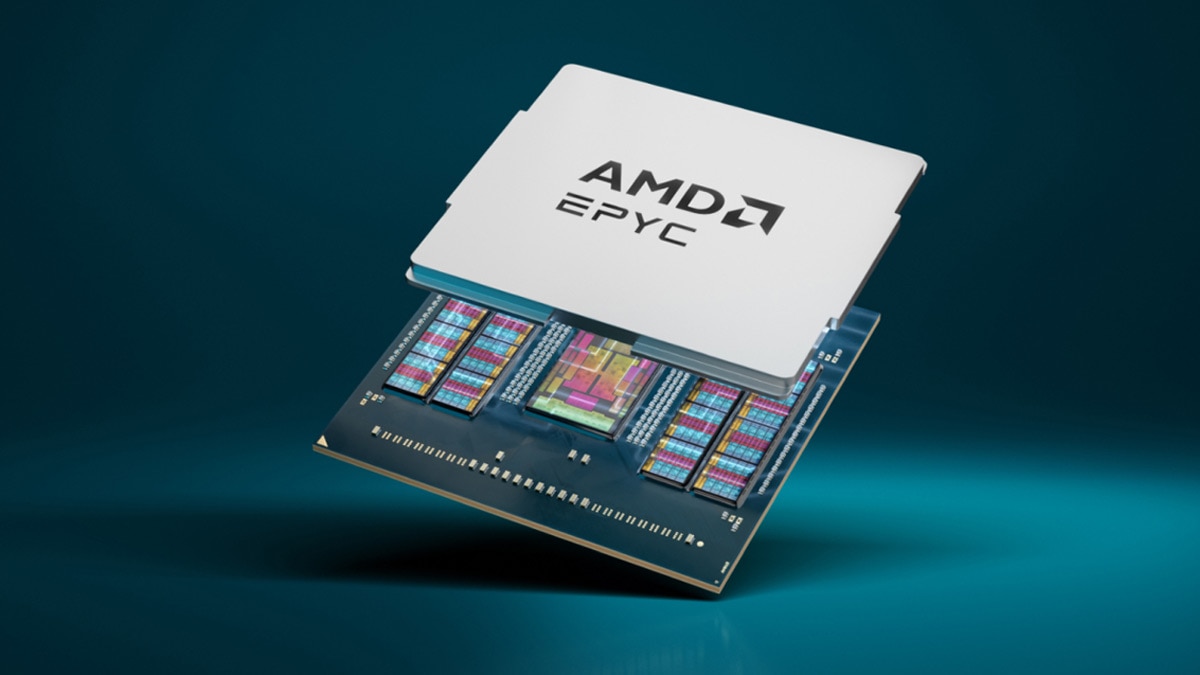
The Gen 12 platform delivers a massive performance boost through its support for the latest processor and memory technologies. The servers offer a choice between two industry-leading architectures:

The integration of DDR5 memory and the high core counts of the Intel Xeon 6 and AMD EPYC 9005 processors (as shown in the image below) dramatically increase transaction throughput and reduce latency, making the Gen 12 platform ideal for virtualization, database management, and high-performance computing [3].

AMD EPYC CPU

AI and Security at the Core

The Gen 12 family is built with AI and security as foundational elements. Certain models, such as those optimized for AI, feature integration with accelerators like the NVIDIA GH200 NVL2, making them ready to handle complex machine learning and deep learning models out of the box [4].

On the security front, HPE has further enhanced its Silicon Root of Trust technology, providing an unchangeable fingerprint in the server’s silicon to prevent unauthorized firmware access. This advanced security posture is essential in a landscape where firmware attacks are becoming increasingly sophisticated.

The 2026 Server Refresh Imperative

Beyond the raw technical specifications, a server refresh in 2026 offers compelling strategic and financial advantages that directly impact a business’s bottom line and competitive standing.

1. Strategic AI Readiness

The most significant driver for a 2026 refresh is the need for AI readiness. As AI moves from pilot projects to core business processes, organizations require infrastructure capable of supporting these compute-intensive workloads. Older servers simply lack the necessary GPU support, high-speed interconnects, and memory bandwidth to run modern AI models efficiently. Adopting Gen 12 servers ensures that your IT roadmap is aligned with the future of business intelligence and automation.

2. Enhanced Operational Efficiency and Cost Control

While the initial investment in new hardware is substantial, the long-term operational savings are significant. Newer servers are dramatically more power-efficient, leading to lower energy consumption and reduced cooling costs in the data center [5]. Furthermore, a refresh allows organizations to consolidate workloads onto fewer, more powerful machines, reducing licensing fees, maintenance overhead, and the risk associated with aging hardware. This strategic adoption of advanced technology is key to building a cost-effective IT roadmap for 2026 [6].

Data Center Refresh

3. Mitigating Security and Compliance Risk

The security features of the Gen 12 servers are a crucial advantage. Running outdated hardware exposes organizations to significant security vulnerabilities, as older systems often fall out of vendor support and lack modern security features like the Silicon Root of Trust. A refresh mitigates this risk, ensuring compliance with increasingly stringent data protection regulations and safeguarding critical business assets.

Conclusion: Investing in the Future

The decision to perform a server refresh in 2026 is not merely a hardware upgrade; it is a strategic investment in the future resilience, performance, and intelligence of your organization. The HPE ProLiant Gen 12 servers, with their focus on AI, security, and next-generation compute power, provide the ideal platform for this transition. By embracing this refresh, businesses can move beyond simply maintaining their infrastructure and instead enable the scalable, high-performance environment necessary to thrive in the AI-driven economy of 2026 and beyond.


References

[1] HPE. HPE introduces next-generation ProLiant servers engineered for advanced security, AI, automation and greater performance. [URL: https://www.hpe.com/us/en/newsroom/press-release/2025/02/hpe-introduces-next-generation-proliant-servers-engineered-for-advanced-security-ai-automation-and-greater-performance.html%5D

[2] Forbes. HPE Launches Next-Generation ProLiant Compute Servers. [URL: https://www.forbes.com/sites/moorinsights/2025/02/12/hpe-launches-next-generation-proliant-compute-servers/%5D

[3] HPE. HPE ProLiant Compute DL325 Gen12 – Features & Specs. [URL: https://buy.hpe.com/us/en/compute/rack-servers/proliant-dl300-servers/proliant-dl325-server/hpe-proliant-compute-dl325-gen12/p/1014896093%5D

[4] Wikipedia. ProLiant. [URL: https://en.wikipedia.org/wiki/ProLiant%5D

[5] Meriplex. How to Build a Cost-Effective IT Roadmap for 2026. [URL: https://meriplex.com/how-to-build-a-cost-effective-it-roadmap-for-2026/%5D

[6] Dymin Systems. Budgeting for 2026: Why IT Planning Starts Now. [URL: https://www.dyminsystems.com/about/blogs/business-intelligence/budgeting-for-2026-why-it-planning-starts-now/%5D

Use Group Policy to Configure Domain Member Client Computers

You must be a member of Domain Admins, or equivalent to perform these procedures.

To create a Group Policy Object and configure BranchCache modes

  1. On a computer upon which the Active Directory Domain Services server role is installed, in Server Manager, click Tools, and then click Group Policy Management. The Group Policy Management console opens.

  2. In the Group Policy Management console, expand the following path: Forest:example.com, Domains, example.com, Group Policy Objects, where example.com is the name of the domain where the BranchCache client computer accounts that you want to configure are located.

  3. Right-click Group Policy Objects, and then click New. The New GPO dialog box opens. In Name, type a name for the new Group Policy Object (GPO). For example, if you want to name the object BranchCache Client Computers, type BranchCache Client Computers. Click OK.

  4. In the Group Policy Management console, ensure that Group Policy Objects is selected, and in the details pane right-click the GPO that you just created. For example, if you named your GPO BranchCache Client Computers, right-click BranchCache Client Computers. Click Edit. The Group Policy Management Editor console opens.

  5. In the Group Policy Management Editor console, expand the following path: Computer Configuration, Policies, Administrative Templates: Policy definitions (ADMX files) retrieved from the local computer, Network, BranchCache.

  6. Click BranchCache, and then in the details pane, double-click Turn on BranchCache. The policy setting dialog box opens.

  7. In the Turn on BranchCache dialog box, click Enabled, and then click OK.

  8. To enable BranchCache distributed cache mode, in the details pane, double-click Set BranchCache Distributed Cache mode. The policy setting dialog box opens.

  9. In the Set BranchCache Distributed Cache mode dialog box, click Enabled, and then click OK.

  10. If you have one or more branch offices where you are deploying BranchCache in hosted cache mode, and you have deployed hosted cache servers in those offices, double-click Enable Automatic Hosted Cache Discovery by Service Connection Point. The policy setting dialog box opens.

  11. In the Enable Automatic Hosted Cache Discovery by Service Connection Point dialog box, click Enabled, and then click OK.

  12. Note

  13. When you enable both the Set BranchCache Distributed Cache mode and the Enable Automatic Hosted Cache Discovery by Service Connection Pointpolicy settings, client computers operate in BranchCache distributed cache mode unless they find a hosted cache server in the branch office, at which point they operate in hosted cache mode.

  14. Use the procedures below to configure firewall settings on client computers by using Group Policy.

To configure Windows Firewall with Advanced Security Inbound Traffic Rules

  1. In the Group Policy Management console, expand the following path: Forest:example.com, Domains, example.com, Group Policy Objects, where example.com is the name of the domain where the BranchCache client computer accounts that you want to configure are located.

  2. In the Group Policy Management console, ensure that Group Policy Objects is selected, and in the details pane right-click the BranchCache client computers GPO that you created previously. For example, if you named your GPO BranchCache Client Computers, right-click BranchCache Client Computers. Click Edit. The Group Policy Management Editor console opens.

  3. In the Group Policy Management Editor console, expand the following path: Computer Configuration, Policies, Windows Settings, Security Settings, Windows Firewall with Advanced Security, Windows Firewall with Advanced Security – LDAP, Inbound Rules.

  4. Right-click Inbound Rules, and then click New Rule. The New Inbound Rule Wizard opens.

  5. In Rule Type, click Predefined, expand the list of choices, and then click BranchCache – Content Retrieval (Uses HTTP). Click Next.

  6. In Predefined Rules, click Next.

  7. In Action, ensure that Allow the connection is selected, and then click Finish.

  8. Important

  9. You must select Allow the connection for the BranchCache client to be able to receive traffic on this port.

  10. To create the WS-Discovery firewall exception, again right-click Inbound Rules, and then click New Rule. The New Inbound Rule Wizard opens.

  11. In Rule Type, click Predefined, expand the list of choices, and then click BranchCache – Peer Discovery (Uses WSD). Click Next.

  12. In Predefined Rules, click Next.

  13. In Action, ensure that Allow the connection is selected, and then click Finish.

  14. Important

  15. You must select Allow the connection for the BranchCache client to be able to receive traffic on this port.

To configure Windows Firewall with Advanced Security Outbound Traffic Rules

  1. In the Group Policy Management Editor console, right-click Outbound Rules, and then click New Rule. The New Outbound Rule Wizard opens.

  2. In Rule Type, click Predefined, expand the list of choices, and then click BranchCache – Content Retrieval (Uses HTTP). Click Next.

  3. In Predefined Rules, click Next.

  4. In Action, ensure that Allow the connection is selected, and then click Finish.

  5. Important

  6. You must select Allow the connection for the BranchCache client to be able to send traffic on this port.

  7. To create the WS-Discovery firewall exception, again right-click Outbound Rules, and then click New Rule. The New Outbound Rule Wizard opens.

  8. In Rule Type, click Predefined, expand the list of choices, and then click BranchCache – Peer Discovery (Uses WSD). Click Next.

  9. In Predefined Rules, click Next.

  10. In Action, ensure that Allow the connection is selected, and then click Finish.

  11. Important

  12. You must select Allow the connection for the BranchCache client to be able to send traffic on this port.